

The Wix merchant who hires a developer to build a lead capture flow has already lost the budget battle.
The quote comes in at a few thousand dollars for what gets pitched as a custom solution: a branded popup with a styled footer signup behind it.
The build takes four to six weeks. By the time it ships, the merchant has paid for something that could have been live the same afternoon.
The reason this happens is that lead capture sounds like a development problem. Forms, popup triggers, email routing, and a database holding the submissions.
Every one of those words sounds like it needs an engineer. The merchant gets a quote, the quote feels proportional to the complexity, and the project moves forward.
None of it actually requires custom code on Wix. The Wix App Market has been around long enough that the building blocks are mature, and every piece of the stack is one install away. The job isn't engineering. It's picking the right placements and installing them in the right order.
A lead capture setup on Wix isn't one form anyway. It's a stack of four, each catching a different visitor at a different moment of intent.
The footer newsletter signup catches the visitor who already likes the brand and wants a low-commitment way to stay in touch. The exit-intent popup with a discount catches the price-sensitive visitor about to leave without buying.
A gated content form on a blog post catches the researcher reading their way to a decision. The about-page contact form catches the visitor with a specific question that no FAQ answers.
The merchant running all four has a lead capture system. The merchant running one has a form.
Here's what each one does, where it goes, what to expect from it, and how to install the first one without writing a line of code.
Lead Capture on Wix, Defined
A Wix lead capture form is any form on a Wix site whose main job is to collect a visitor's email address in exchange for something the visitor wants.
A discount on their first order, access to gated content, or a reply to a question. The exchange is the whole mechanism. No exchange, no lead.
That works for the visitor who already planned to subscribe before they arrived. It does nothing for the visitor who needed a different reason to hand over their email at a different moment of the visit.
Capturing leads on Wix means designing for the moments visitors are actually willing to convert and putting a form at each one.
The footer signup, the exit-intent popup, the gated content form, and the about-page contact form aren't four versions of the same thing.
They’re four entry points to the same email list, each priced at a different level of commitment, each catching a visitor that the other three would miss.
The reason this works on Wix specifically is that none of the four requires touching code. The Wix Editor handles the page layouts. The App Market handles the forms and the popup triggers behind them.
Email routing comes with the install. The merchant's job is to decide which placements the site needs and to put them in the right places.
Form 1. The Footer Newsletter Signup

The footer newsletter signup isn't a lead capture form. It's a brand affinity form, and treating it like the other three is what makes it underperform.
The most common mistake is attaching a discount to it. "Subscribe to our newsletter and get 10% off your first order" in the footer looks like a conversion lever, but it does two things wrong at once. It cannibalizes the exit-intent popup, which is the form that actually exists to convert price-sensitive visitors at the buying moment. And it pulls in signups from people who wanted the discount, not the brand, which produces a list that opens nothing and buys once.
A visitor who subscribes from the footer without an incentive is telling you they want to hear from the brand. That's the only signal a newsletter list actually needs.
The placement is the footer of every page, with no exceptions and no variations by template. The visitor who scrolls to the bottom of a product page, a blog post, or the homepage is doing the same thing in each case, which means the form needs to be in the same place each time.
Some Wix templates split the footer between sections; if yours does, the signup goes in the global footer that renders on every page, not in a section-specific block.
The footer signup catches a smaller slice of traffic than the other three by design. The audience is the most pre-qualified, and the conversion math reflects that: the visitor who subscribes from an un-incentivized footer signup is signaling brand affinity, which the other forms aren't built to detect.
Install for the footer signup is the simplest of the four, which is why it's usually the first form merchants ship. Walkthrough is in the "How to install your first Wix lead capture form" section below.
The footer signup catches the visitor who has already decided. It doesn't catch the visitor who almost left, which is the next form's job.
Form 2. The Exit-Intent Popup with Discount
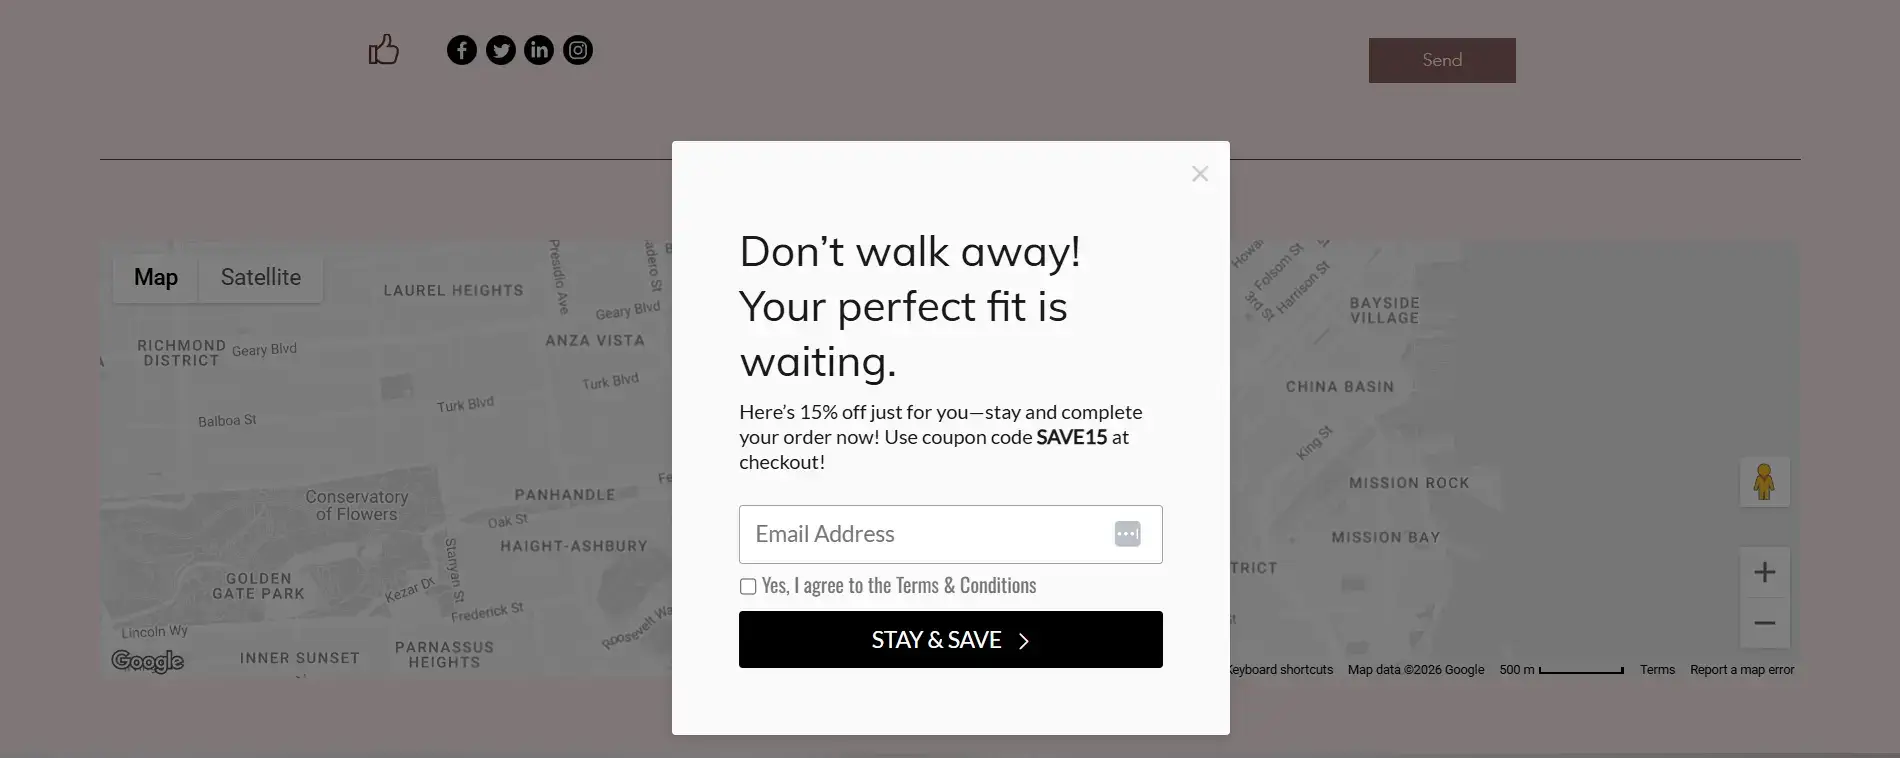
Most merchants think the exit-intent popup is a discount form. It's a timing form. The discount is what gets the visitor to act; the trigger is what decides which visitor ever sees it.
Welcome popups and scroll-trigger popups carry the same offer, but they fire while the visitor is still considering, which means they interrupt buyers in the middle of buying and get dismissed by browsers who haven't decided yet.
Exit-intent fires only when the visitor moves to leave the page. The buyer never sees it. The browser sees it once, at the moment they'd otherwise leave with nothing.
This is the inverse of the footer signup mistake. Form 1 fails when merchants attach a discount that it shouldn't carry. Form 2 fails when merchants attach a trigger that fires at the wrong moment. Same lesson, opposite direction: match the offer to the intent, and match the trigger to the offer.
Placement is site-wide, not restricted to specific pages. Exit-intent works on the homepage, product pages, the cart page, and the checkout page, and the cart and checkout pages are usually where it earns the most.
The popup fires when the visitor's cursor moves toward the browser tab or the back button, which is the moment intent to leave becomes a behavior.
The exit-intent popup converts at the highest rate of the four. The offer is the strongest, the timing is best, and the visitor is at the moment of highest deliberation about whether to buy.
The install walkthrough is in the "How to install your first Wix lead capture form" section below. Exit-intent popups install through POWR Popup rather than POWR Form Builder, since the trigger logic is the popup-specific piece.
Form 3. The Gated Content Form on a Blog Post
The gated content form is the form most merchants either skip or get wrong by treating it like the other two. Form 1 is brand affinity. Form 2 is conversion.
Most people think gated content is a B2B SaaS tactic, not part of Wix lead generation for sites selling products or services.
The visitor reading a blog post on a Wix site is exactly the visitor most worth catching. They came in through search with a specific question, they're consuming long-form information about a problem the site addresses, and no other form on the site has given them a reason to convert.
The footer signup is too low-commitment to register. The exit-intent popup with a discount isn't aimed at them. The gated content form is the only one designed for this moment.
What "gated content" actually is on a Wix site doesn't have to be enterprise scaffolding. A size guide for an apparel brand. A pricing worksheet for a service business. Whatever the merchant has that goes one layer deeper than the blog post itself, packaged as a downloadable in exchange for an email.
This is also the form where the no-code claim has the most to prove. Gated content sounds like it needs conditional logic and file delivery that a real developer would normally build.
On Wix, it doesn't. The form captures the email and redirects the visitor to a page hosting the file. The gate is the form. The asset lives on its own page. The form is what connects the two.
Placement is in the blog post, either mid-post, around the two-thirds mark, or at the end. The mid-post placement catches the visitor who got invested enough to read most of the article. The end-of-post placement catches the visitor who has finished and is looking for what's next.
The gated content form converts at a higher rate than the footer signup and a lower rate than the exit-intent popup.
It's the most effective way to capture leads on Wix from the blog channel specifically, because the visitor is more qualified than the footer scroller (they came in through search and read most of an article) but less commercially primed than the exit-intent visitor (they're researching, not buying).
Full setup is in the install section below. Gated content runs through POWR Form Builder; the post-submission redirect to the file's page is configured in the form's settings, not in a separate integration.
Form 4. The Contact Form on the About Page
The about-page contact form is the most easily dismissed of the four.
One group of merchants thinks contact forms are obsolete and skips it. Another thinks the about page is dead real estate nobody reads and puts the form on the contact page instead.
Both miss the highest-intent visitor on the site. The visitor who clicks "Contact Us" is usually contacting the business about the business, not about buying from it.
The contact form on the about page is for the prospect who has read enough of the site to be interested and has one specific question that stands between them and a purchase or booking.
That question is almost always something the FAQ doesn't answer, and the product description doesn't address: a custom request, a fit concern, a timing question, a pricing edge case. The form is the lowest-friction way for that prospect to ask it.
Placement is on the about page itself, below the brand story, rather than at the top. The visitor who's ready to ask has already read the page; the form should be where they land at the bottom, not what greets them before they've decided the brand is worth contacting.
The about-page contact form converts at a moderate rate relative to the other three.
Lower than the exit-intent popup because the visitor pool is smaller. Higher than the footer signup and gated content form because the visitor who fills it out has already self-identified as a prospect, not as a researcher or a passive subscriber.
Full setup is in the install section below. The contact form is the lightest install of the four. There's nothing to trigger and nothing to gate. Drop the form on the page, set where the submissions go, ship.
How the Four Work Together as One System
The four forms aren't four tactics. They're a coverage map.
The conventional advice on Wix lead capture is to pick the form that fits the site best and run it well. That advice treats site traffic as one audience that needs one mechanism.
Each of the four forms is a Wix opt-in form aimed at one of those four visitors.
The footer signup catches the visitor who already likes the brand and wants a way to stay in touch. The exit-intent popup is for the visitor about to leave without buying.
Gated content forms work on the researcher reading their way to a decision. The about-page contact form sits in front of the prospect with a specific question standing between them and a purchase.
The cost of skipping any of these is a specific category of visitor who walks away.
A site without a footer signup loses the visitor who already trusted the brand and would've stayed in touch for free. A site without an exit-intent popup loses the price-sensitive visitor at the buying moment.
A site without a gated content form loses the researcher who came in through search and was actively looking for more from the site. A site without an about-page contact form loses the highest-intent prospect on the site, the one with a specific question and no way to ask it.
Each form is calibrated to a moment of intent that the other three miss. A site running three out of four isn't running a slightly smaller version of the system. It's leaving an entire category of visitors uncaptured.
The full stack is four no-code Wix forms working as one system, with no developer in any part of the build. The next section walks through the install.
How to Install Your First Wix Lead Capture Form
The footer signup is the right place to see how fast no-code actually means. It's the simplest install of the four, and the same pattern carries through to the other three with different placements and settings.
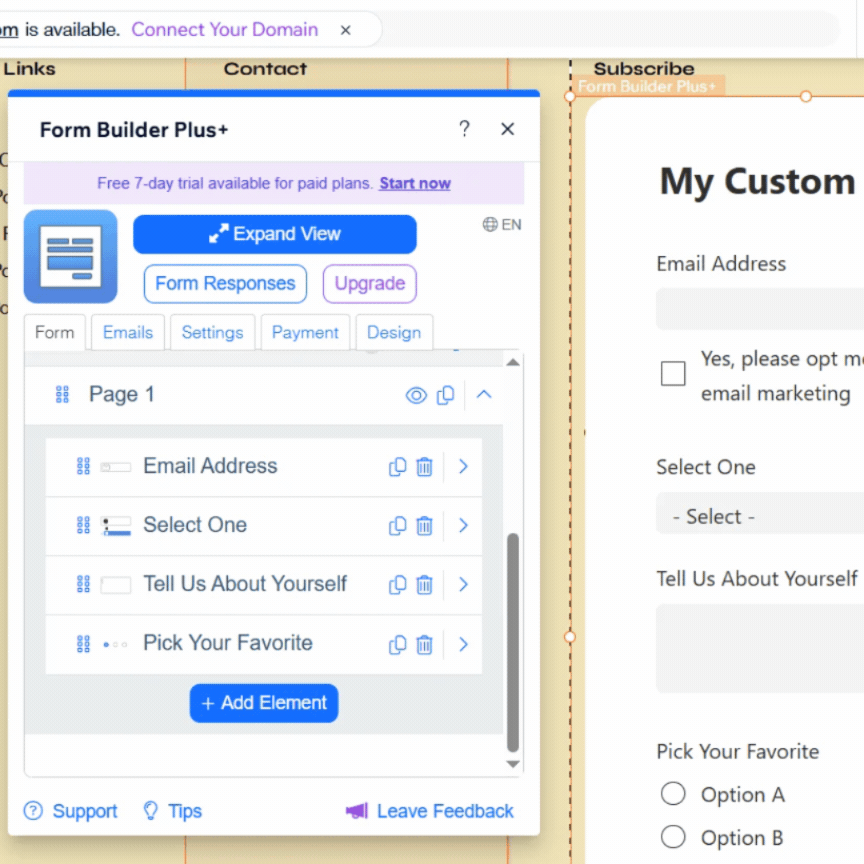
1. Add POWR Form Builder to your site. Open the Wix Editor and go to the App Market. Search POWR, then select POWR Form Builder. Click Add to Site, then Agree & Add to accept the App Market Terms of Use.
2. Drop the form into the footer. Drag the template form into the footer at the bottom of any page. The footer is global on Wix by default, so the form renders across every page on the site. Resize if needed to fit the footer's available width.
3. Strip the form down to one field. Open Settings, scroll to the Form section, and delete every field except Email Address by clicking the bin icon. A footer signup is one field. The visitor who's ready to subscribe doesn't want to fill anything else out.
4. Write the copy for the visitor you're actually catching. Open Title & Description. The title and copy should speak to the visitor who already likes the brand, not the visitor you're trying to convince. A title like "Stay in touch" and a one-line description like "Updates from [brand], nothing else" lands harder than generic newsletter language because it matches the brand-affinity intent the form is designed to catch.
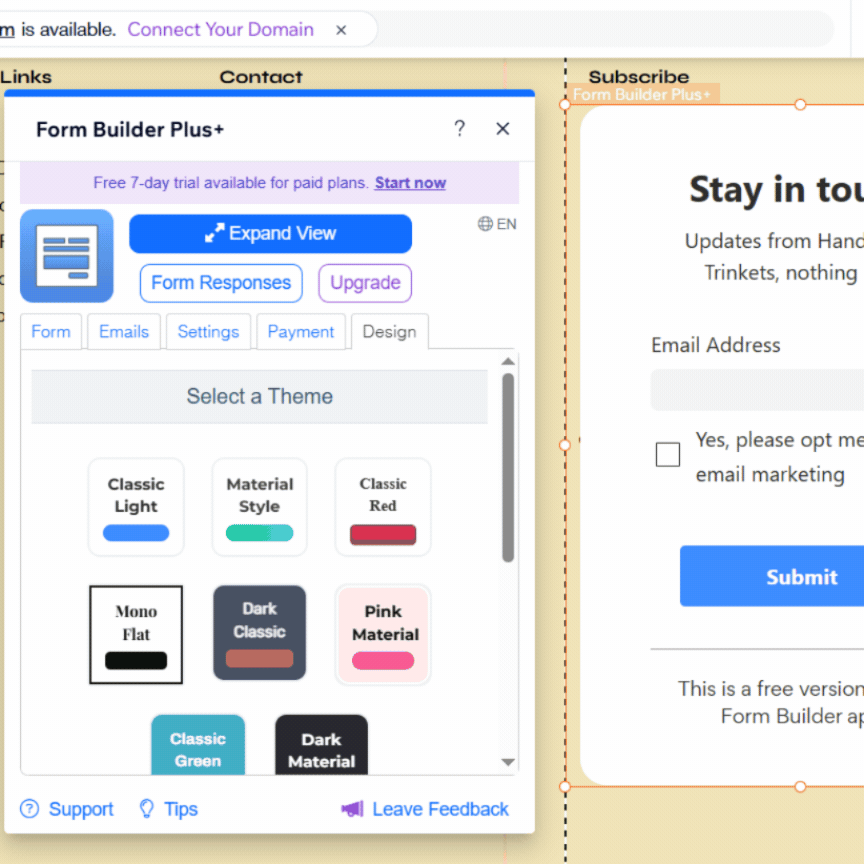
5. Style the form to blend, not stand out. Open Design, scroll to Styling, and set the Background & Border color to match the footer. The footer signup converts best when it looks like part of the site, not a separate ask. A visitor who's already scrolled to the bottom doesn't need to be flagged down.
6. Publish. Hit Publish, then View Site to check the live placement.
What Changes for the Other Three Forms
The gated content form follows the same install pattern, with one difference: it goes inside a blog post rather than the footer, and the form's post-submission setting needs to redirect the visitor to a separate page hosting the downloadable file. Build the file's page first (a simple page with the asset embedded or linked), then point the form's redirect there.
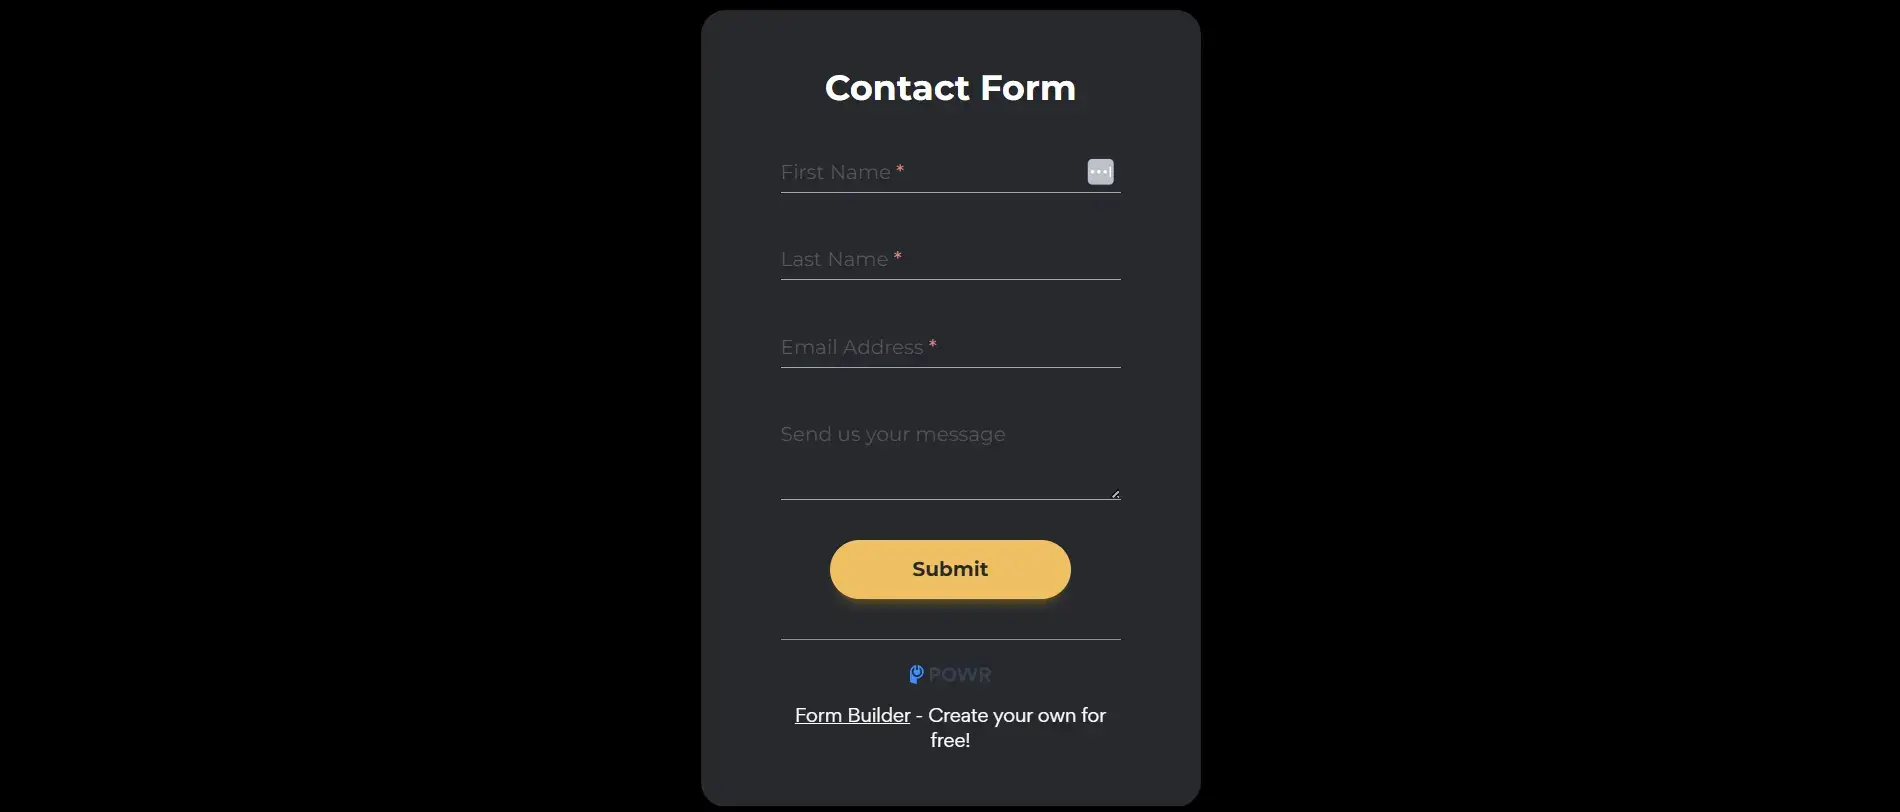
The about-page contact form is the lightest install of all. Same drag-into-place pattern, just on the about page below the brand story, with the form fields set to Name, Email, and Message. There's nothing to trigger and nothing to gate.
The exit-intent popup installs through POWR Popup, not POWR Form Builder, and the workflow is different. POWR Popup is its own app with its own dashboard, accessed through the Wix Dashboard rather than the Wix Editor.
Add POWR Popup from the App Market the same way, then open the app from the Dashboard to build the popup. Set the trigger to Exit Intent and configure the form fields and offer copy inside the popup builder. Once the popup is published, it fires site-wide based on the trigger you set.
Install POWR Form Builder from the Wix App Market and ship the footer signup in under five minutes. The other three forms follow the same pattern.
Frequently Asked Questions
How do I capture leads on Wix?
Capturing leads on Wix means putting a form at each of the four moments visitors are willing to convert: a footer newsletter signup for the visitor who already likes the brand, an exit-intent popup with a discount for the visitor about to leave without buying, a gated content form on a blog post for the researcher reading their way to a decision, and a contact form on the about page for the prospect with a specific question. All four install through the Wix App Market without code.
Does Wix have lead generation forms?
Wix has a built-in form element in the Wix Editor that handles basic submissions, but it doesn't cover the placements and triggers that a real lead capture system needs. The exit-intent popup and the gated content redirect aren't part of the native Wix form element, and neither is the targeted about-page contact form placement. They install through Wix App Market apps like POWR Form Builder and POWR Popup, which extend what's possible without leaving the Wix environment.
What is the best lead capture form for Wix?
There isn't one. The four forms each catch a visitor that the other three miss. If the question is which one to install first, the footer newsletter signup is the right starting point because it's the simplest install and the most universally applicable. If the question is which one converts the highest, the exit-intent popup with discount earns the most because the offer is strongest and the timing is best.
How do I add an email signup form to Wix?
Open the Wix Editor, go to the App Market, search POWR, and install POWR Form Builder. Drag the form template into the footer, open Settings, delete every field except Email Address, then update the title and description in the Title & Description tab. Match the background color to the footer in Design, then hit Publish. Full walkthrough is in the install section above.
