

Adding a contact form to your Shopify store can directly improve conversions.
When customers have a quick question (about sizing, shipping, or availability), they need an easy way to reach you. If they can’t, they leave your store without buying.
A contact form solves this by letting customers message you directly from your site, keeping them engaged and more likely to convert.
With POWR Forms, you can add a contact form to your Shopify store in minutes without touching code. This guide walks you through exactly how to set it up.
What Default Contact Forms Get Wrong
Shopify's built-in contact form isn't broken. It's just limited in ways that cost merchants.
It lives on a single Contact page. It doesn't confirm receipt to the customer. It gives you no way to understand what kind of inquiry came in before you open it.
And it can't be embedded on the pages where your customers actually have questions: product pages, collection pages, or your footer.
POWR Forms plugs directly into your Shopify store and gives you control over all of that without adding complexity to your stack. One app, configured once, embedded wherever your customers need it.
Setting Up Your POWR Contact Form
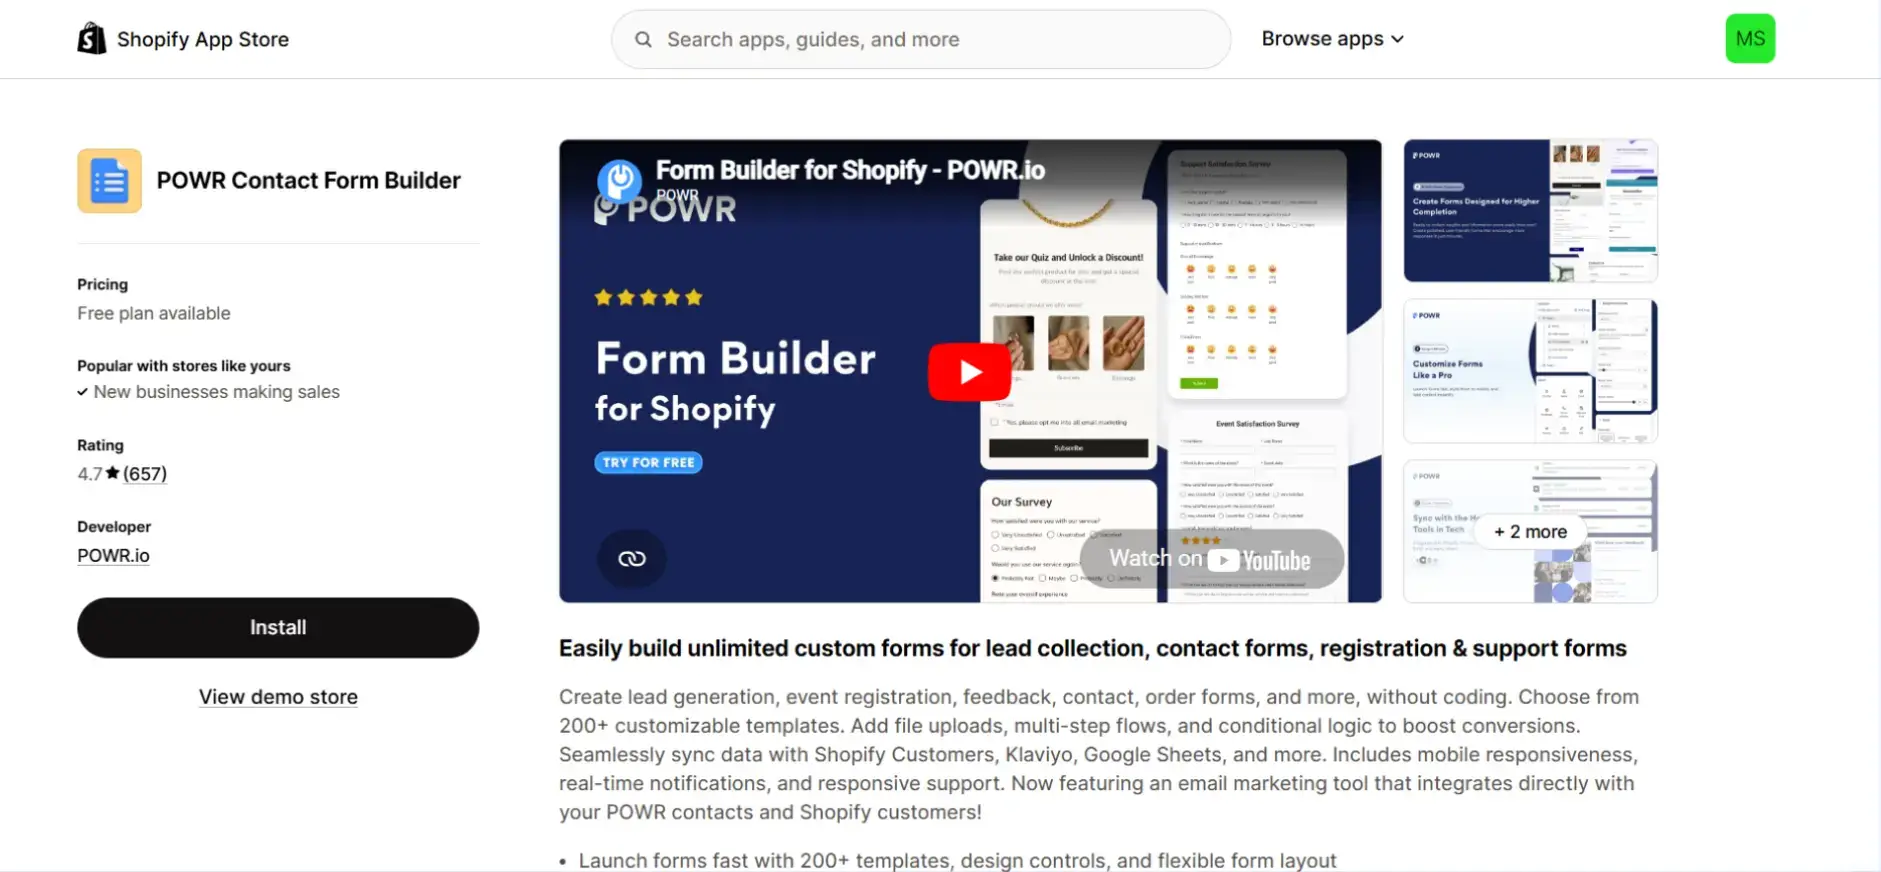
Install POWR Forms
Open the Shopify App Store, search for POWR Form Builder, and click Install. POWR connects to your store automatically. No manual configuration required to get started.
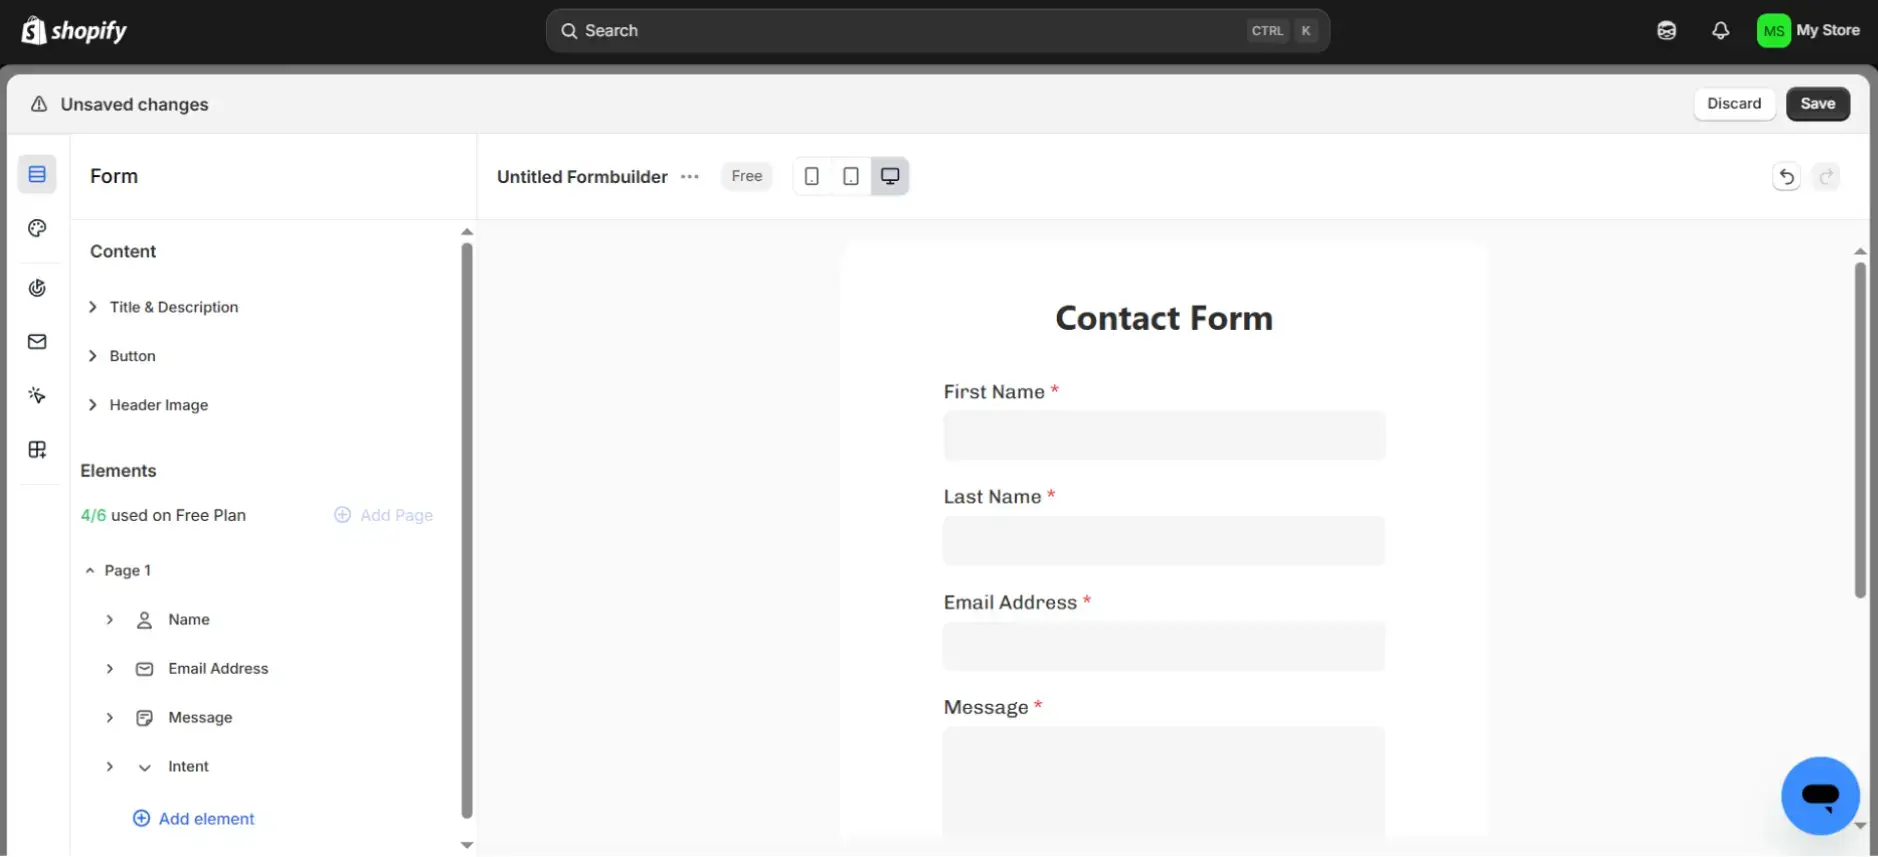
Build your form
Click Create Form, then Start from Scratch. Add three fields: Name, Email, Message. Mark all three as required. If you want to understand inquiry type before responding, add a dropdown with options like Orders, Sizing, and Returns. Stop at four fields. Submission rates drop with every field you add beyond that.
💡 Tip: Keep your form short. Simpler forms get more submissions.
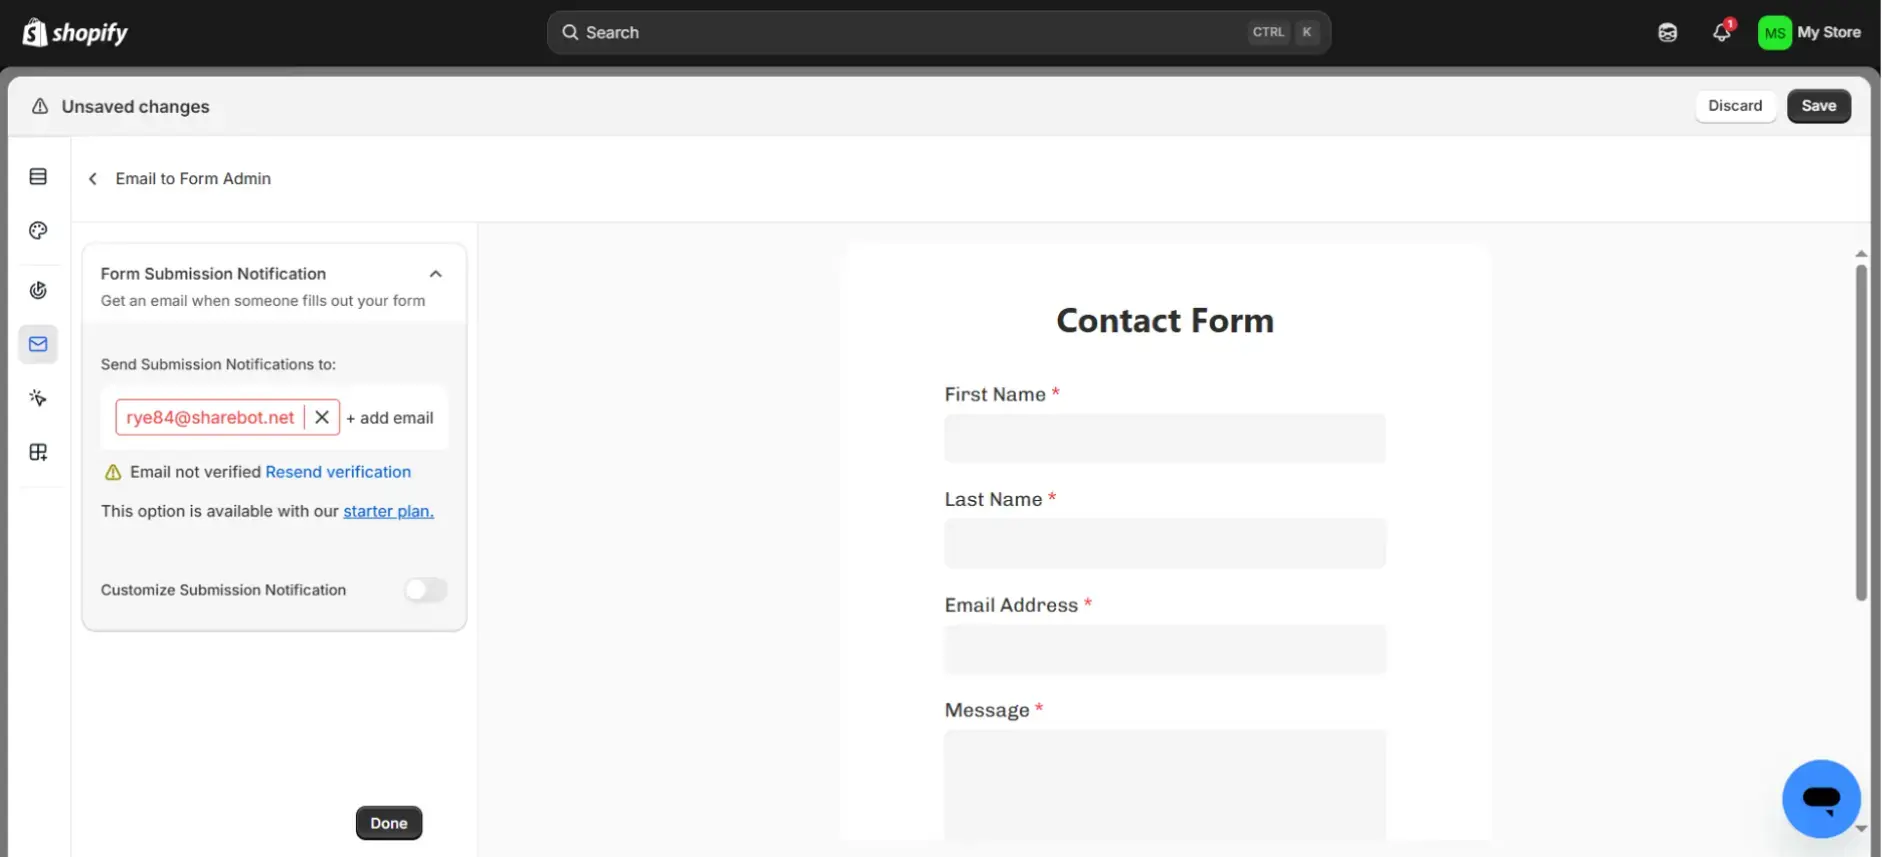
Turn on notifications
Click the Email icon in the left menu, select Email to Form Admin, and enter where submissions should go. Verify your email if prompted.
Not because you didn't care, but because the submission never reached you. From the customer's side, that silence reads the same as being ignored.
POWR sends every submission directly to your inbox the moment it comes in so you don’t have to log into your Dashboard or remember to check responses.
The notification arrives when the customer is still thinking about your store, which is exactly when a fast response converts.
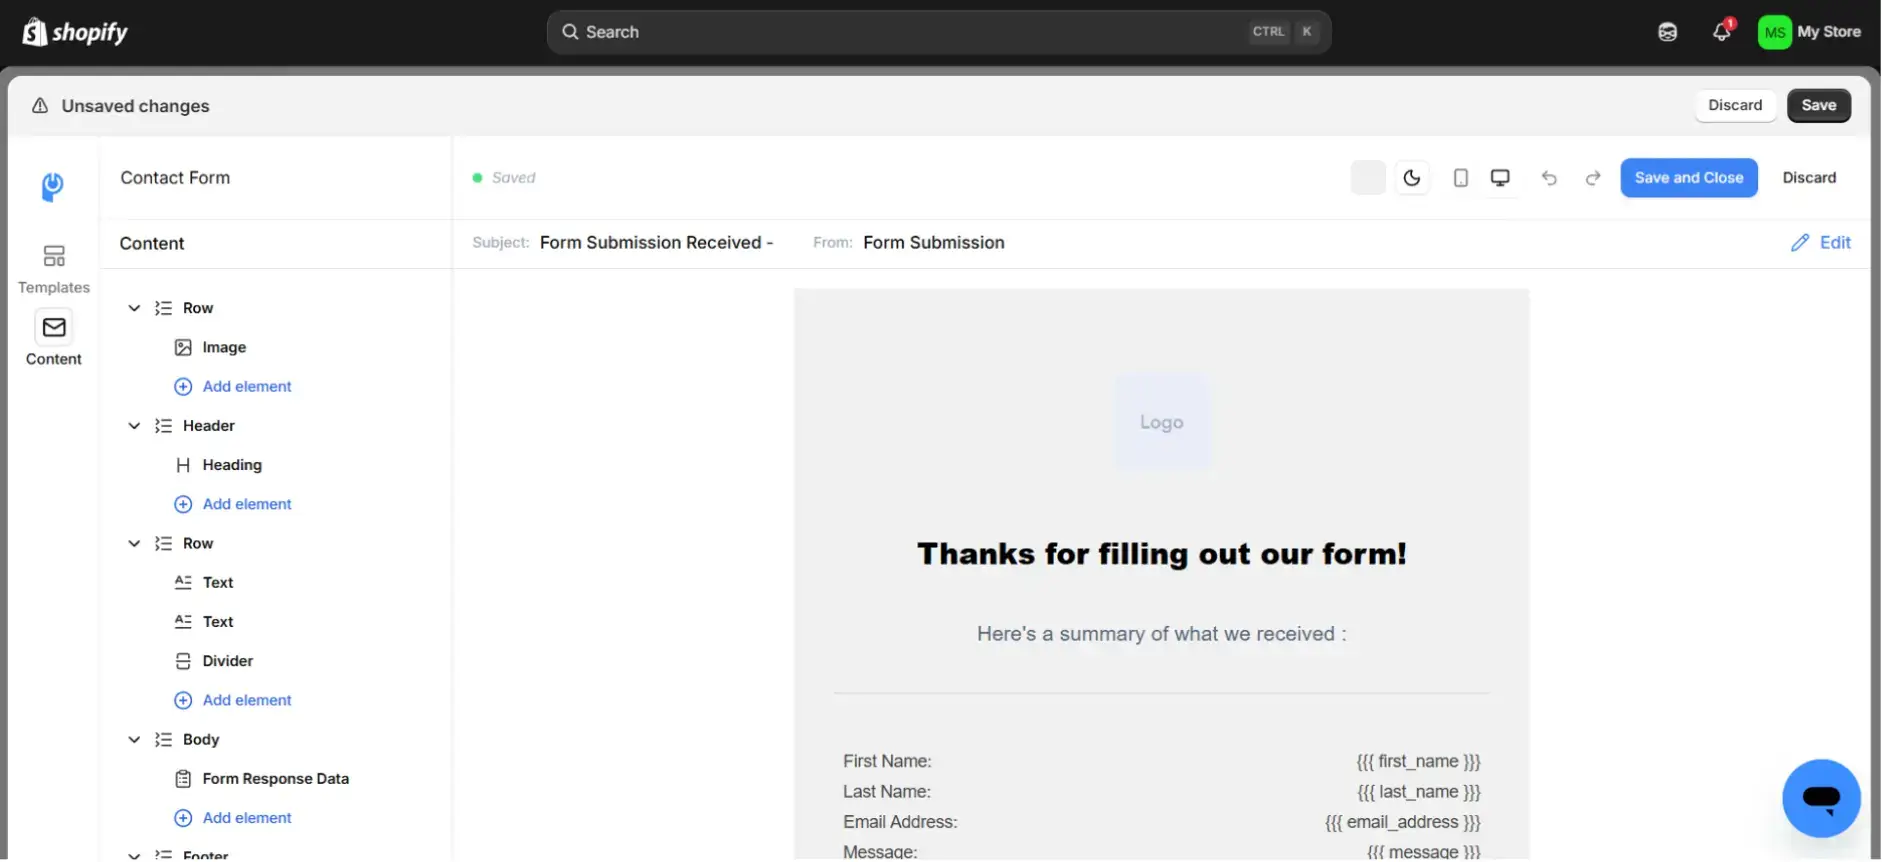
While you're in this section, enable the autoresponder under Notifications. Customize the message so it sounds like your brand, not a system alert.
Customers get an immediate confirmation that their message landed, and you stop getting the follow-up emails asking whether the form worked. It takes thirty seconds to set up and removes a friction point on both sides of the conversation.
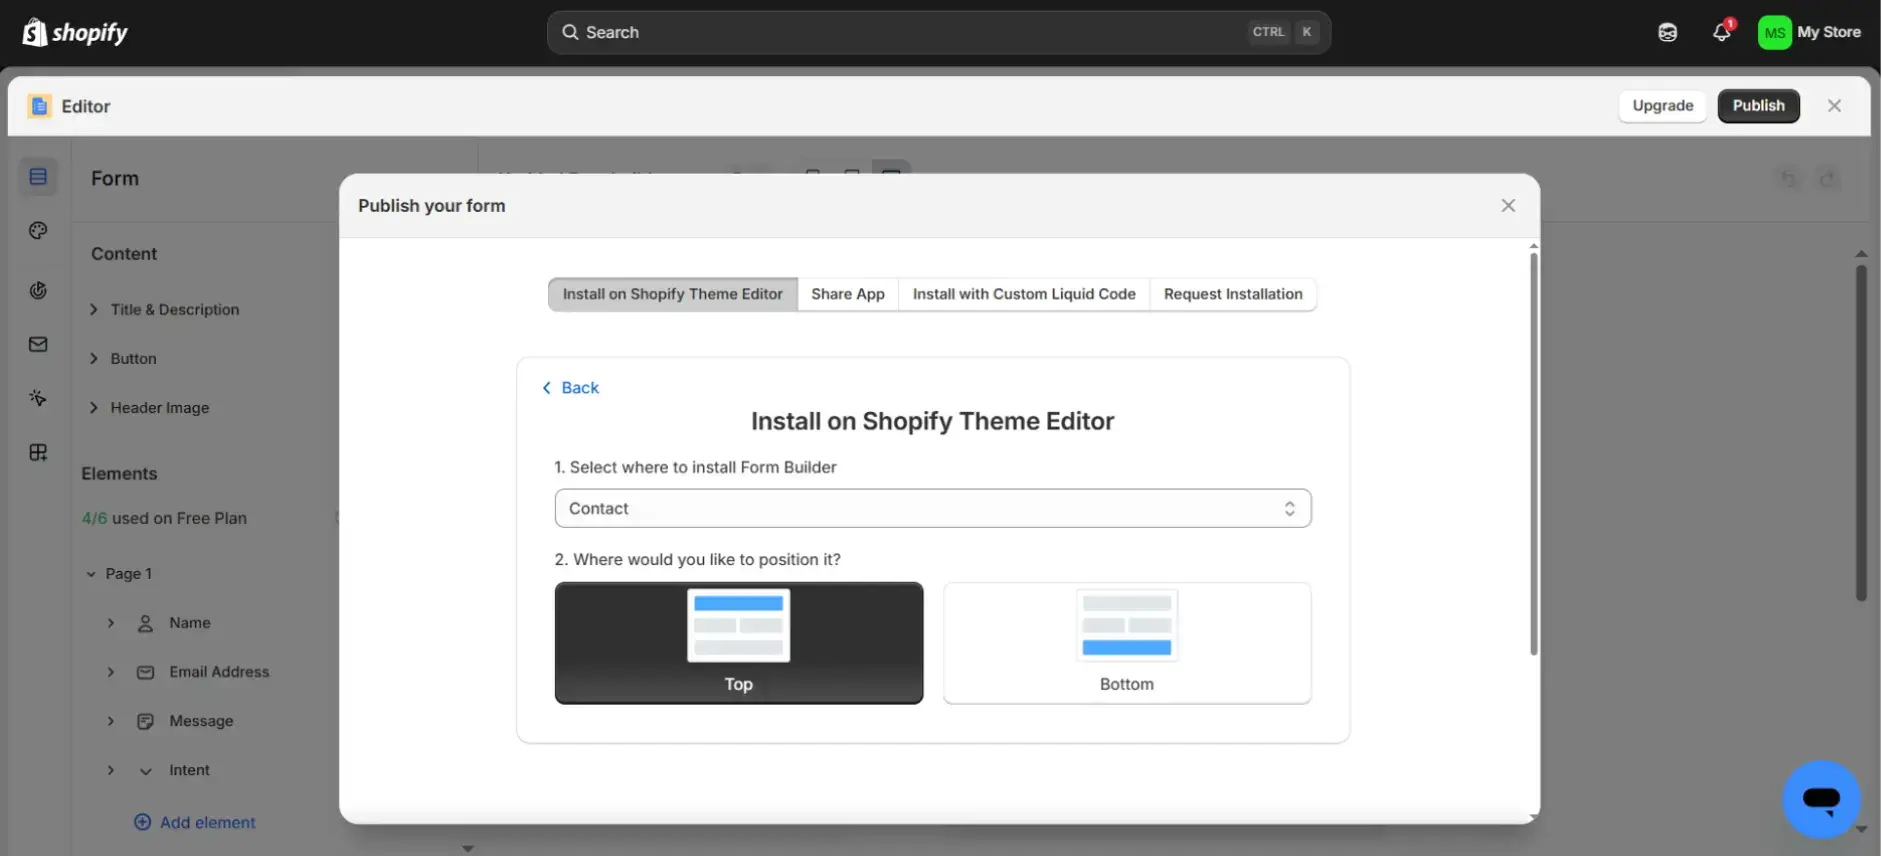
Publish your new contact form
Once your fields and notifications are configured, you're ready to go live.
Click Save / Publish in the POWR editor. In the Install dropdown, select Contact, then choose where the form should appear on the page, either Top or Bottom. Click Install to Theme.
This opens your Shopify theme editor in a new tab. From here you'll replace Shopify's default form and save, which is covered in the next step.
Before you publish, do a quick check. Read through your field labels as a customer would. Confirm required fields are marked. Verify your notification email is set.
Publishing takes one click, but a form that goes live with a broken notification or a missing required field means real submissions either fail or go unseen.
POWR saves your configuration automatically as you build, so nothing is lost if you step away mid-setup.
Replace Shopify’s default contact form
In the theme editor, navigate to your Contact page, remove the built-in contact form block, and click Save. Leaving both live creates a confusing experience for customers and splits your notification setup.

Test your form (important) 🚨
A form that looks configured and a form that actually works are not always the same thing. Notification emails miss verification. Required fields get skipped. Submit buttons disappear below the fold on mobile.
None of that is visible until someone submits an entry, and if that someone is a real customer, you'll never know you missed it.
Most of your customers are browsing on mobile. A form that works on desktop but frustrates on a small screen is still losing you submissions.
Two minutes now prevents the most expensive kind of broken: the kind you don't find out about.
Where to Put Your Contact Form
That’s it 🎉 Your Shopify contact form is now live.
The Contact page is the floor, not the strategy.
The footer is worth adding too. It stays out of the way but makes you reachable from every page without asking customers to navigate anywhere.
The pattern is simple: the closer your form is to the moment of doubt, the more questions you answer, and the fewer sales you lose to silence.
The Contact Form Is Where Lost Sales Come Back
Now you know how to add a contact form to your Shopify store.
Most merchants treat a contact form as an administrative checkbox. The ones who treat it as a conversion tool put it in the right places, configure it to actually work, and respond fast when submissions come in.
POWR Forms is built for merchants who want to compete without adding complexity. One install. One session to configure. Embedded wherever your customers need it.
