
As a content marketer, do you often feel stuck when writing the first draft of your blog post? Do you often face a mind-numbing writer’s block while writing a critical piece of content? You’re not alone.
Most marketers and content creators have doubts and fears about every new piece they publish, especially when trying to stay on track with a busy content calendar.
Creating a solid blog outline is essential for effective writing. An outline serves as a roadmap, guiding you through the writing process and ensuring your ideas flow logically.
By organizing your thoughts beforehand, you can reduce anxiety and enhance clarity, making it easier to convey your message to readers.
In this guide, we will explore the steps to craft a comprehensive blog outline that captivates your audience and maximizes the impact of your content.
In this article:
But here’s the good news. You can do away with all the inhibitions related to any upcoming content piece. How?
A blog post outline ushers in a fresh dose of confidence when creating blog content.
Before getting to how you can create a post outline for your blog content, let’s understand some of the key benefits of writing an outline for your blog content.
What are the Benefits of Writing a Blog Post Outline?
- A post outline helps you arrange your thoughts and ideas in a logical sequence that will complement your digital marketing campaigns.
- It lets you stay focused on the core message and prevents you from being off-topic.
- An outline acts as a map for your writing.
- With an outline, you can identify the key points that require research. Hence, an outline saves time by guiding you through the content creation process.
- It reduces the chances of a writer's block because, with an outline, you get clear direction from the very start.
- By writing an outline, you can ensure you address all audience pain points related to a specific topic. By doing that, you can write content that ranks on Google.
- An outline helps you manage complex topics for longer blog posts by breaking them into manageable sections. It also ensures you cover each aspect thoroughly.
- Whether you’re a blog writer or a social media creator, planning and preparation help keep the creative juices flowing.
How to Create a Blog Post Outline (6 steps)
- Start with a working title
- Find a unique story angle
- Write the hook
- Identify the subtopics
- Briefly explain the conclusion
- Include other details
How can you create the perfect outline for your blog post? Whether you’re writing a blog post yourself or assigning it to a writer, creating an outline removes the confusion around what goes into a post.
That’s why an outline is a magical tool for creating blog content. Here is a blog post outline template:
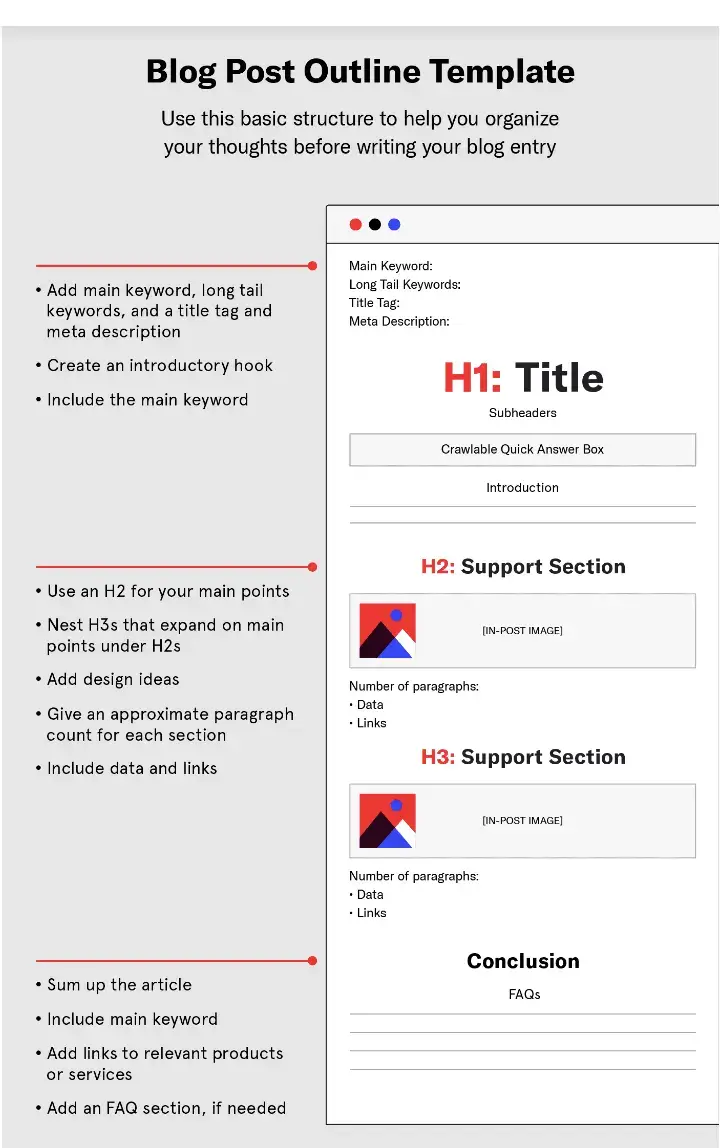
Let’s now take a look at how to write a comprehensive outline for your blog content for each step.
Start with the working title
- Simply head over to your content brief and look for the primary keyword of your article. Use it to write a title for the content piece.
- That’s because a title defines the main idea of a content piece. It lets you decide the flow of an article.
Nick Eubanks, founder of From the Future, says:
Next is the story angle — let’s now learn how you address this part of your post outline.
Find a unique story angle
- The story angle depends on the content type you’re planning on publishing. For instance, are you looking to pen a listicle or publish a how-to post?
There are various blog post types you can explore at this stage:
- An expert round-up
- A personal anecdote
- A trend story
- An opinion piece
An excellent way to finalize the story angle is to align it with the customer purchase journey.
Once you have the story type, you can tweak the title accordingly. Plus, you’ll know what you wish to cover in your content piece.
Write the hook
A hook or the introduction of a blog post sets the tone of the entire content piece.
- You can start your post with a question about a critical pain point.
- Start your post with a metaphor or a simile.
- Quotes and statistics work as great hooks too.

- Start by sharing your personal story.
- Showcase your authority on the topic by talking about your experience.
An introduction can draw the reader’s attention to a specific problem. Don’t forget to use this section to convey the benefits of reading the post until the end.
To ensure clarity and accuracy in your writing, you might also consider using a grammar checker.
Identify the subtopics
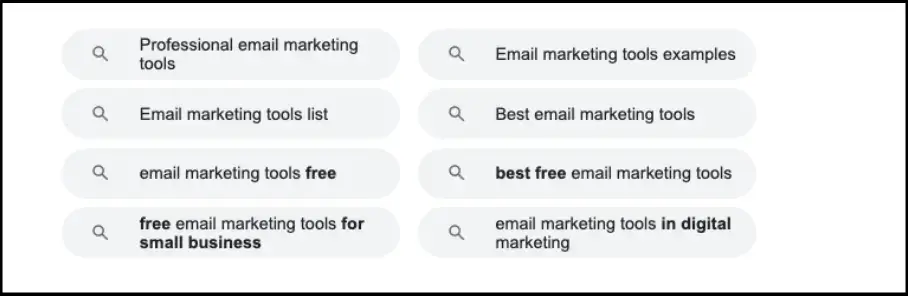
Head to the keywords section of your content brief and look for queries related to your main topic. Another way to find subtopics is to look for related keywords in Google.
Also, check out the “People also ask” section of the SERPs.
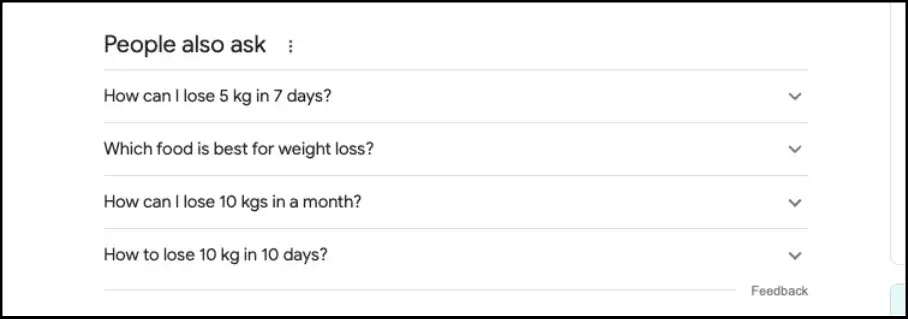
This way, you will understand some of the critical audience pain points you can cover in your article. The next step is to put all of these in chronological order.
Briefly explain the conclusion
The conclusion of your article paves the way for you to offer a definite resolution to the readers.
- Summarize your argument and give a relevant takeaway to your readers.
- An easy way to do this is to summarize online your argument using a tool.
The conclusion is a precious section where you can write your call-to-action and direct blog readers to a relevant product trial, free consultation, or newsletter subscription.
Include other details
Finally, it’s time for you to put all the miscellaneous details in your article.
- Place links to reference articles and data in this section.
- Mention examples or case studies that you want the writer to include.
- Add all the relevant internal links you wish to include.
- Add questions you wish to include in the FAQs section of your article. FAQs are critical for your content to appear in Google’s SERP features.
Once ready, you can share the outline with your writer. Are you excited?
FAQ
1. What is a blog post outline?
A blog post outline is a structured plan that organizes your ideas and main points before you write your post. It helps ensure clarity and focus.
2. Why should I create a blog outline?
Creating a blog outline helps you maintain a logical flow, manage complex topics, and reduce writer’s block, making the writing process more efficient.
3. How detailed should my blog post outline be?
Your outline should include key points, subtopics, and supporting details to effectively guide your writing.
4. Can I use a blog post outline template?
Yes! Using a blog post outline template can simplify the outlining process and ensure you cover essential elements.
5. What are the common mistakes in writing blog outlines?
Common mistakes include not defining a clear thesis, neglecting logical organization, and failing to consider audience needs.
6. How do I revise my blog post outline?
Revisit your outline after drafting your post to ensure all key points are covered and adjust for flow or new ideas.
Final Thoughts
In summary, a well-crafted blog outline is your secret weapon for effective writing. It organizes your thoughts, clarifies your message, and boosts your confidence as you create content.
By investing time in outlining, you can streamline your writing process and enhance the quality of your blog posts. So, draft a detailed blog outline before you begin writing—your future self and your readers will thank you!
