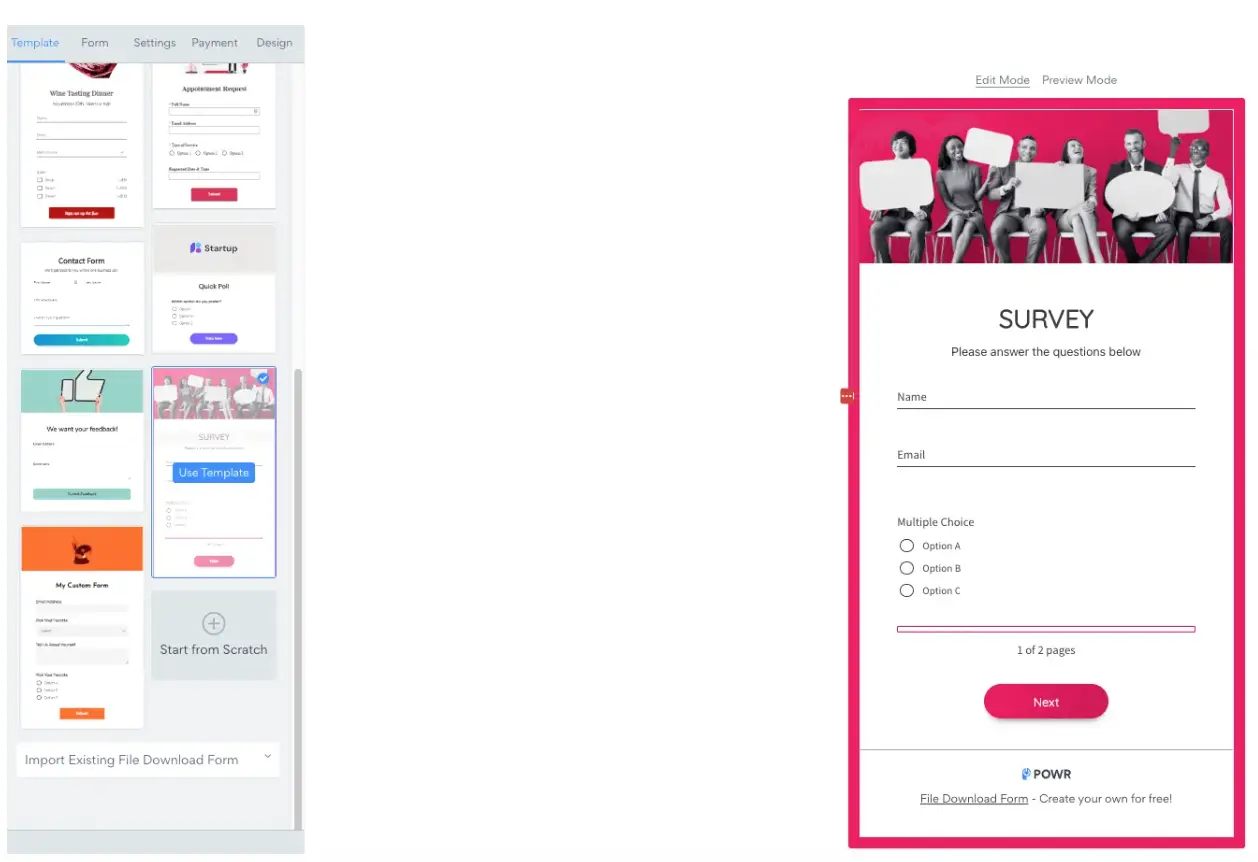
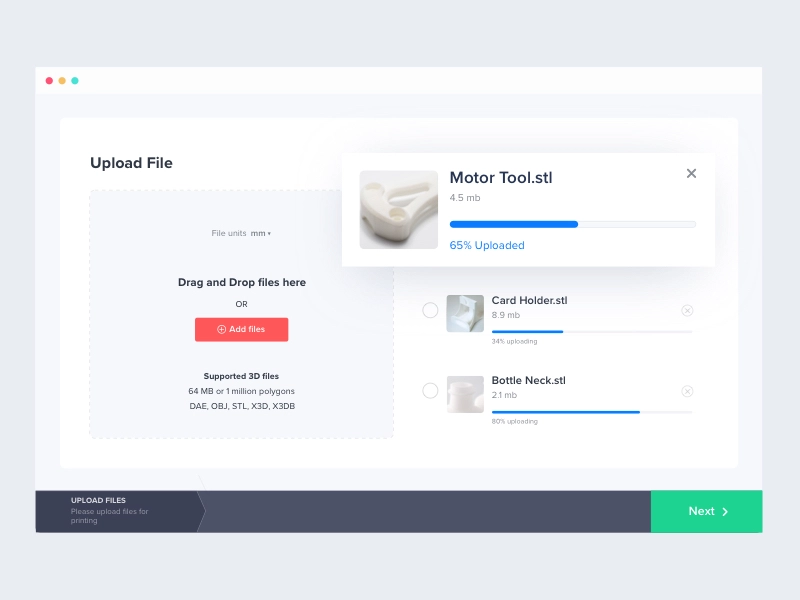
POWR has made it simpler than ever to upload files to a website with our file upload app, which you can use for free.
Learning how to upload a document to a website can greatly enhance user interactions, making your website more efficient and user-friendly.
Adding a file upload page allows users to easily submit documents, images, or files without unnecessary complications, which helps streamline the entire communication process between you and your website visitors.
Create a File Upload Page for a Website
- Step 1: Select a File Upload Plugin
Begin by choosing a file upload plugin that fits your website platform. POWR File Upload is a great option for adding an easy-to-use file upload page. - Step 2: Install and Configure the Plugin
Install the plugin and follow the instructions for setup. Customize your upload form by specifying which types of documents are allowed to be uploaded. - Step 3: Add the File Upload Page to Your Website
Once configured, add the upload form to your desired webpage. Make sure it is accessible and visually appealing to encourage users to interact with it.
If you can work with an IT team to have them create a file upload page for you, you will need to communicate your requirements to speed up the deployment of your upload page.
You may need to clarify whether you want them to use a social media plugin to connect a website with your social networks, describe the desired elements of a web page, etc.

What Consists of a File Upload Page?
Typically, a web page that handles uploads for form responses does not have a separate page for uploading files.
They are on the same web page, where you must complete several input fields before submitting.
This is convenient since the website can validate all the required user inputs and uploads the user provides on one page. Because of this, a small portion of the web page that displays forms is usually dedicated to the file upload feature.
You can get your file upload page working with a file upload form for free.
Setting up a file upload page
After deciding whether or not to host your file upload page on your website, you will need to find out what you need from your visitors. Is it a single file? A collection of proper documentation? A set of images?
Once you know this, you may start working on the file upload section of your web form.
If you build and manage your website, your website-building platform has what you need to set up a file upload page. This is usually a drag-and-drop component that may be configured to suit your needs.
You can learn how to create a file upload form in HTML for your file upload page.
Choosing a file upload page setup
Creating an easy-to-use file upload section will ensure your web visitors can submit their responses without a hitch, saving you and your visitors time.
Make sure to know what’s best for your visitors by assessing what you need from them.
Choosing between hosting your visitors’ file uploads on your web server and hosting it elsewhere through a file hosting service is crucial. This depends mainly on your available resources.
Your File Upload Page
A custom file upload page for your website will allow you to host your visitors’ files conveniently on your website. Since no files will be uploaded outside your website, as long as it is up and running, you can expect that it will continue to work well.
But keep track of your available storage space on your web server because it will get filled up fast if you receive many responses and file uploads!
In cases like this, a storage upgrade for your web server may be necessary to ensure your website can handle the volume of files you need to store from your users.
Additionally, implementing secure file-sharing practices becomes even more important to manage user-uploaded files effectively.
Stand-Alone File Upload Pages
A navigation link is usually included when the file upload page is separate from the web page showing the form. Clicking the link displays the file upload page.
This works best for form responses that treat file uploads as optional. Stand-alone file upload pages are also helpful when you only need visitors' files, not form responses.
External File Upload Services
Another option is using an external file upload service if you need to put your website’s file uploads elsewhere.
This saves storage space if your web server is not designed to handle lots of file uploads from your visitors.

Could you check if the file upload service you want to use can embed a file upload section on your website?
Embedding file upload services on your website is quick and easy, with detailed instructions to make them work.
To remind you, acquiring your external file upload service is only half the battle. You have to be able to display it on your website without requiring your users to go to an external web page to upload files.
Real-Life Example: Benefits of a File Upload Page
Example 1:
For instance, a small business that handles customer orders found that adding a file upload page significantly improved their workflow.
Instead of receiving email attachments, which could get lost in cluttered inboxes, they allowed customers to directly upload documents through their website, saving time and reducing confusion.
Before adding this feature, processing orders was cumbersome, involving multiple emails and manual data entry.
As a result, customer satisfaction improved dramatically, with customers appreciating the ease of sharing necessary documents in one straightforward step.
The business owner noted that learning how to upload a document to a website with a dedicated file upload form made their operations far more efficient and professional.
Example 2:
Another example comes from an educational consultancy that needed to collect application forms and supporting documents from students.
Before they added a file upload page, students often had trouble emailing large files, which led to delays and missed deadlines.
By adding a simple drag-and-drop file upload service to their application page, the consultancy saw a 40% increase in timely submissions and a significant reduction in email-related issues.
Students found the process much more intuitive, and the consultancy team was able to keep everything organized in one place, allowing for faster and more effective decision-making.
These examples illustrate that learning how to upload a document to a website can dramatically improve workflows, reduce human errors, and enhance user experience, no matter the type of business or organization.
FAQ: File Uploads
1. How do I create a file upload page on my website?
To create a file upload page, you need to add an upload button or a widget to your page. This process usually involves using a plugin or custom code to accept file submissions. Check if your website platform supports this feature and use tools like POWR File Upload.
2. What is the easiest way to upload a document to a website?
The easiest way to upload a document to a website is by using a drag-and-drop file upload feature. This can be implemented using tools like the POWR File Upload plugin, which is simple and effective.
3. Why should I add a file upload feature to my website?
Adding a file upload feature allows your users to easily submit files, which can be useful for contact forms, job applications, or orders. It helps streamline your website's communication process.
4. Can I create a file upload page without coding?
Yes, you can create a file upload page without any coding by using website builder plugins or widgets like POWR File Upload. These tools make it easy to set up a functional upload page.
5. How to ensure the security of files uploaded through my website?
To ensure security, choose a reliable file upload plugin with built-in security features. POWR File Upload, for instance, comes with options for restricting file types and adding CAPTCHA to prevent spam uploads.
6. How can I manage the files uploaded to my website?
You can manage the files by accessing them through your website dashboard or the plugin's interface. POWR File Upload offers a centralized place to review and manage all uploads easily.
Final Thoughts
You may need to submit information to complete your request using the web. Let’s say you want help with some of your academic assignments.
Enter your favorite do my essay platform and mention all the requirements for your paper.
This data is then processed and transferred to the professional who’ll work on your order. Sometimes, you will also need to submit additional documents and images.
These services have one thing in common — a digital form with a button to select files from your computer to upload. After submitting, your files are uploaded and then stored on their dedicated server.
Aside from you, other users may also submit their responses. A website with many visitors may quickly receive hundreds or thousands of responses.
That’s why a system must be in place to manage and organize these files. It does not have to be complicated; it just needs to be effective.


